How to set up a front-end development environment on Windows
A step by step guide for front-end newbies to get a workable environment set up within a short time


When getting into front-end development, the first thing that will be required before the learning process begins is to set up a front-end development environment. For starters, it’s advisable not to be overwhelmed by the list of things you might need. All that is needed to get started are a few basic tools which this article will cover.
In order not to keep you waiting, let’s jump right into it!😎
Tools to install
There are many tools out there for development but in this article, the focus will be on the basic ones that will get you ready in no time to begin your learning journey.
These tools are:
A browser(Google Chrome recommended).
A code editor(Visual Studio Code recommended).
Node js (optional)
Git (optional)
How to download and install these tools
Let’s take a look at how to get these tools installed in very easy steps.
Browser
As a front-end developer, most of your work will deal with the client side of development. During development, there will be a need to visually view what you're working on or also do some debugging. This brings a need for a browser which will help with these.
There are numerous browsers out there like Google Chrome, Mozilla Firefox, Opera so on. All these browsers are great and unique but the standout among them is Google Chrome.
Google Chrome
Chrome is the widely used browser for development because of its numerous extensions that make the development experience a whole lot easier.
Let’s go through the step-by-step guide to get chrome set up:
Open your default browser(for most windows, it’s Microsoft edge)
Download the installation file from Chrome's official site
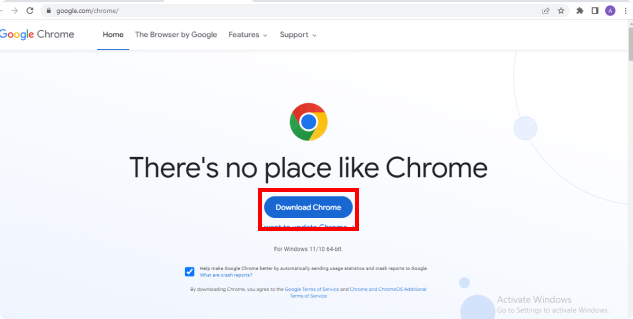
After downloading, run the file
Allow the app to make changes to your device by clicking Yes on the User Account Control dialog that opens.
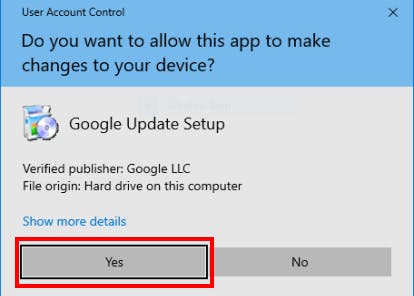
Wait for the installation to be completed and start using chrome

Code Editor
Code editor offers a platform for developers to write their code because of its unique features. Code isn't just like any type of document, it requires the use of some syntax which platforms like word docs cannot offer.
There are several code editors' choices out there for developers to pick from depending on what they are looking to achieve with it. Majorly, the recommended code editor for front-end developers is Visual Studio Code.
Visual Studio Code
Visual Studio Code (VS Code) was ranked the most popular code editor in Stack Overflow’s 2019 Developer Survey. Its popularity grew over the years due to its simplicity and unlimited features that increased the productivity of developers.
Let’s go through the step by set guide to get Vs code set up:
Open your Chrome
Download the installation file for windows from VS Code's official site
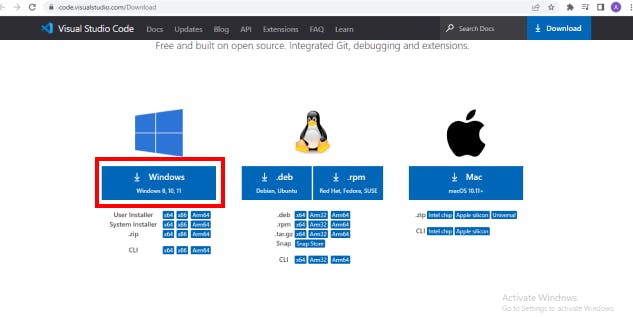
Run the installer (VSCodeUserSetup-{version}.exe)
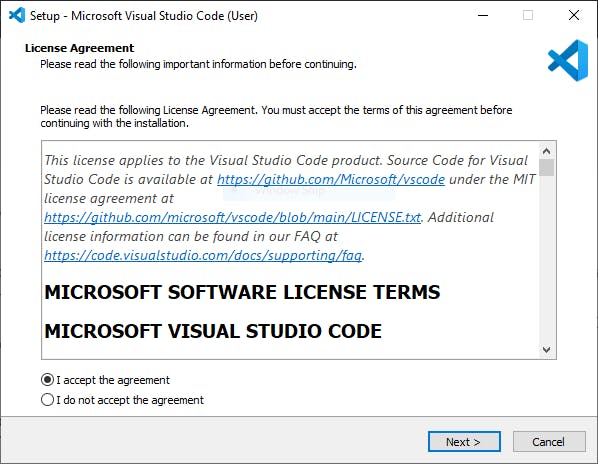
Accept the Licence Agreement and click Next
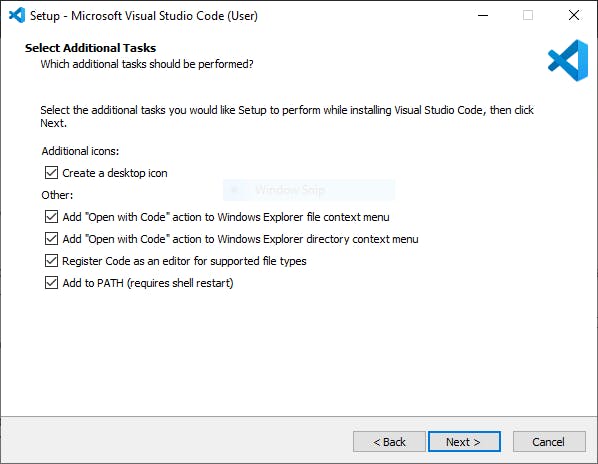
Select Additional Tasks (Check all the tasks) and click Next
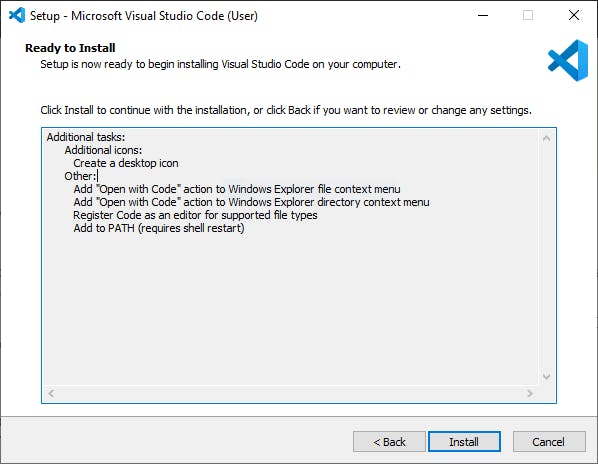
Confirm the tasks to perform while installing and click Install
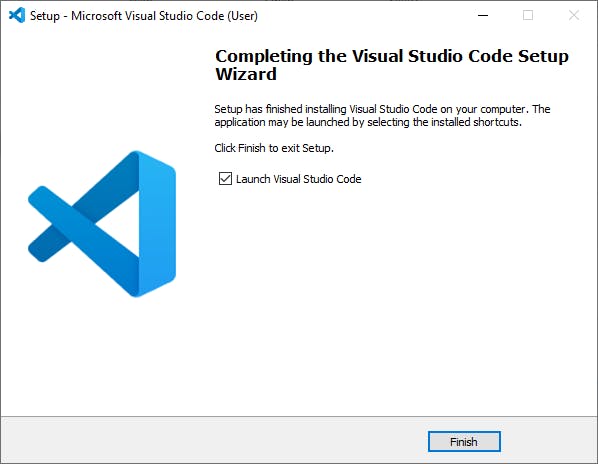
After installation, check the "Launch Visual Studio Code" and click Finish to open up VS Code automatically.
Node.js
You might be surprised and ask “Why node?, I’m not trying to be a node js developer”. The essence is that for it to be possible to install packages from a public npm registry or a private npm registry, you must install Node.js and the npm command line interface. As a frontend developer, you’re 100% going to be making use of node packages in the near future even though you will be starting with HTML, CSS and basic JavaScript, hence the need for node to be installed. The installation for node at the beginning can also be optional
Now let’s get down to the installation process:
Open your chrome
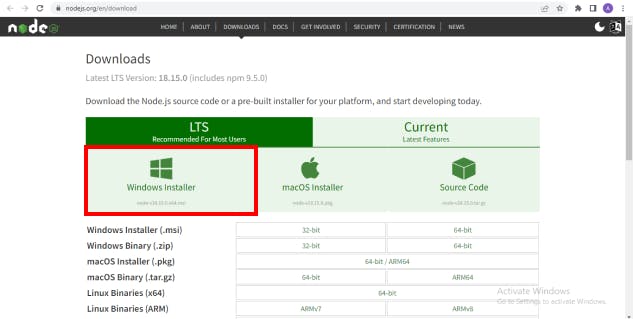
Download the latest version of Window Installer from NodeJs's official site(LTS recommended)
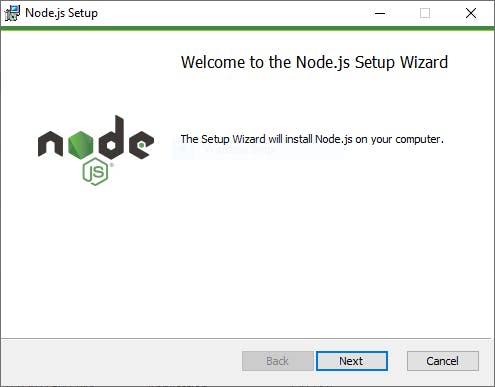
Run the node msi file
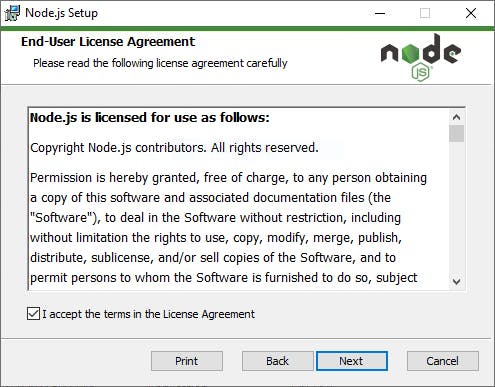
Accept End-User License Agreement and click Next
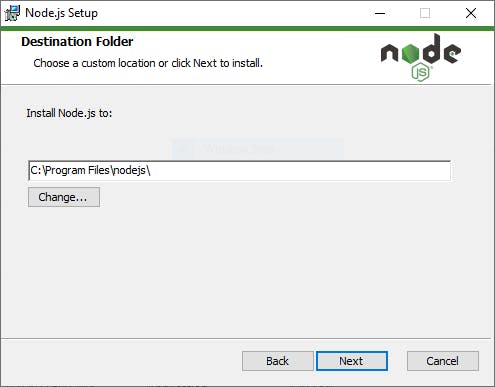
Choose the desired path to install node. It's advisable to leave the default path. Click Next after this.
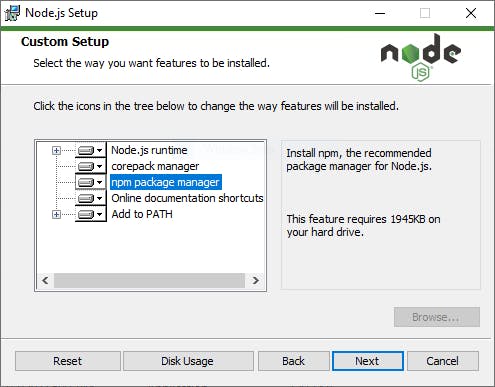
Set up custom installation format. It's advisable to select npm package manager, not the default of Node.js runtime. This way, Node and NPM can install simultaneously. Click Next after this
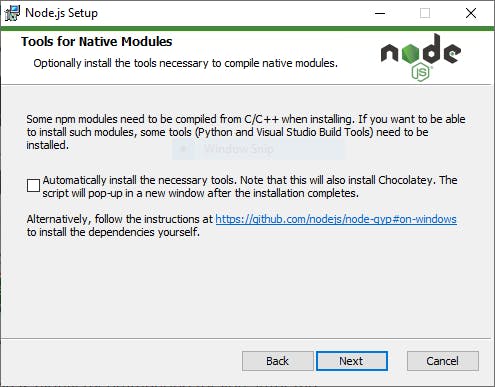
Click Next on the additional tool installation page(Leave the default set-up)
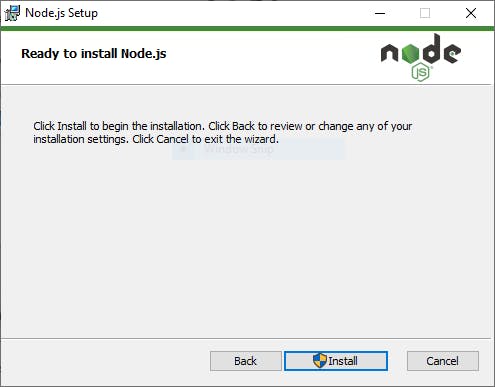
The long process is now over! Time to hit Install and sit back
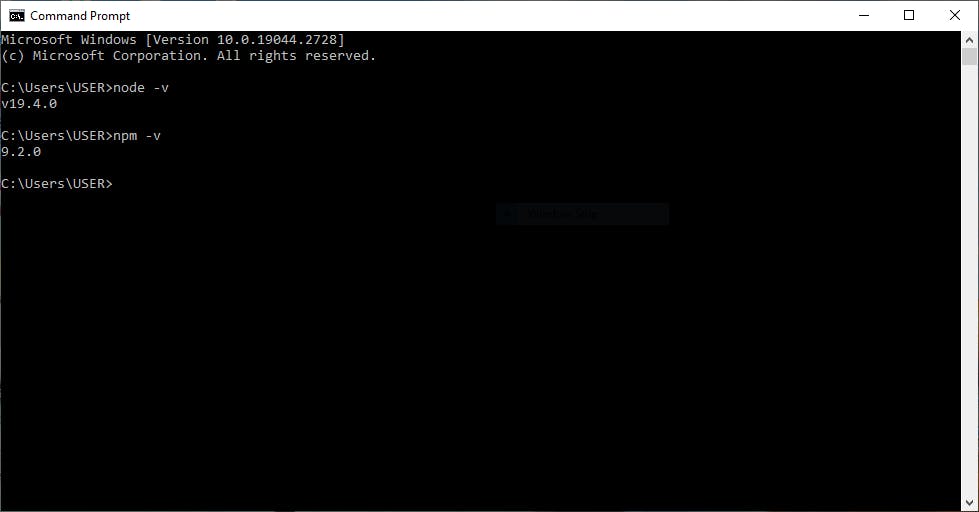
Open Terminal and check the NodeJs and NPM versions by running these command
 node -v //For node version
 npm -v //For npm version
If node and npm are successfully installed, the version will be displayed
Git
Git is a version control system that makes it easy for developers to share files and also collaborate with other developers on open-source projects. It’s also a social networking platform where developers can connect and network with each. It’s great to always have git set up on your local machine. The installation also can be optional but it's a requirement to collaborate with other developers on projects.
Let’s go through the steps for doing that:
Open your chrome
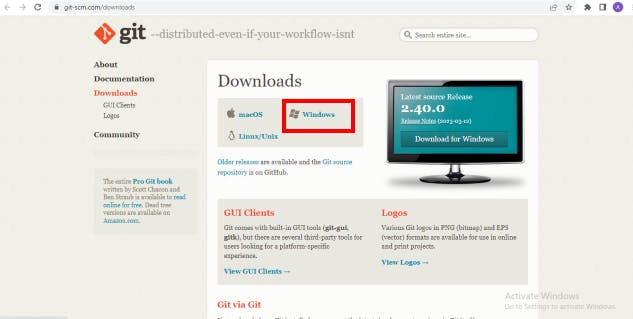
Download the latest version of Git for windows from Git's official site
Double-click the downloaded file to extract and launch the installer
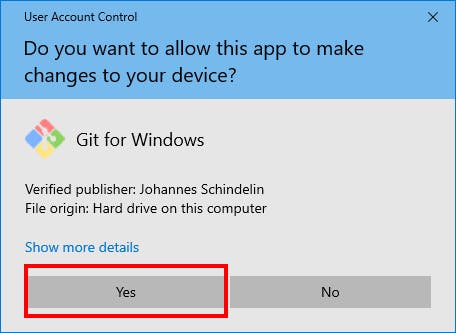
Allow the app to make changes to your device by clicking Yes on the User Account Control dialog that opens.
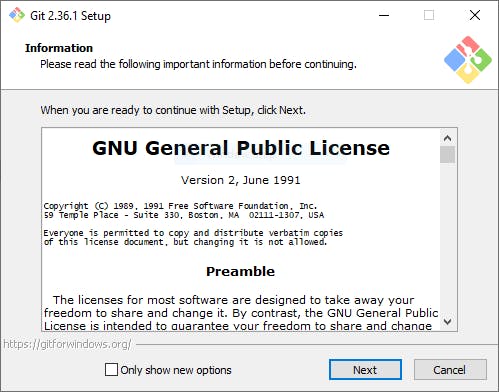
Read through the GNU General Public License and click Next
Choose the desired path for installation (leave the default unless there's a reason to change), and click Next

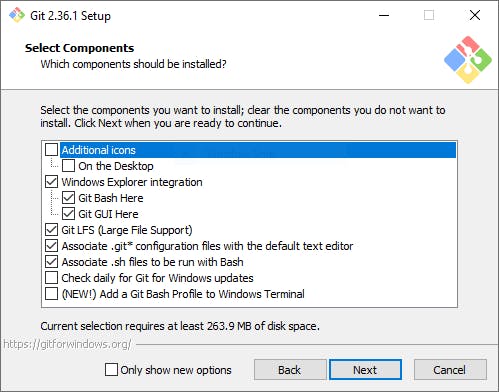
A component selection screen will appear. Leave the defaults unless you have a specific need to change them and click Next.
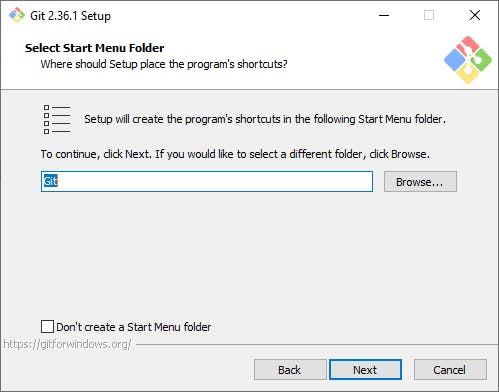
The installer will offer to create a start menu folder. Leave the folder as Git and click Next.
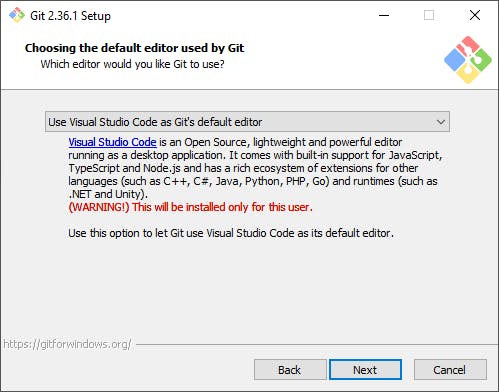
Select a text editor you’d like to use with Git. Use the drop-down menu to select Visual Studio Code (or whichever text editor you prefer) and click Next.
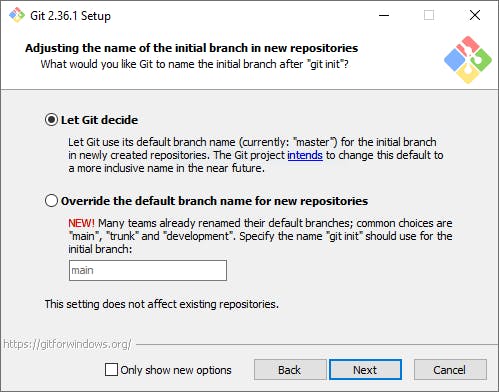
The next step allows you to adjust the name of your initial branch. The default is 'master', leave the default option and click Next.
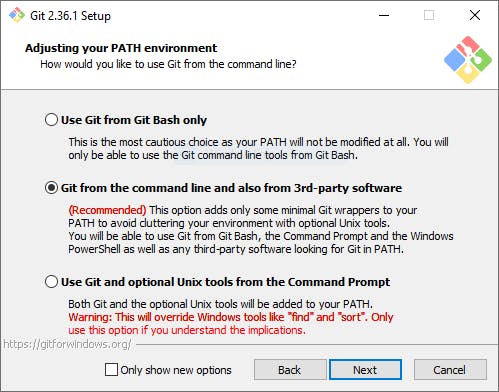
This installation step allows you to change the PATH environment. The PATH is the default set of directories included when you run a command from the command line. Leave this in the middle (recommended) selection and click Next.
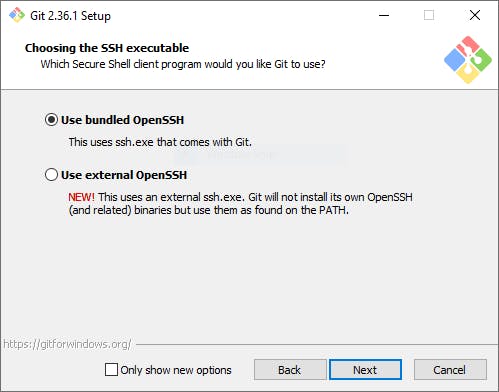
The installer now asks which SSH client you want Git to use. Git already comes with its own SSH client, so if you don't need a specific one, leave the default option and click Next.
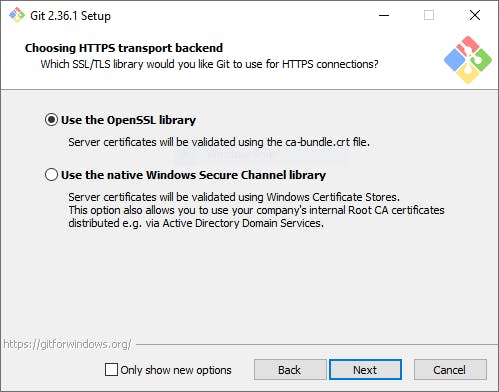
The next option relates to server certificates. Most users should use the default, so leave it and click Next.
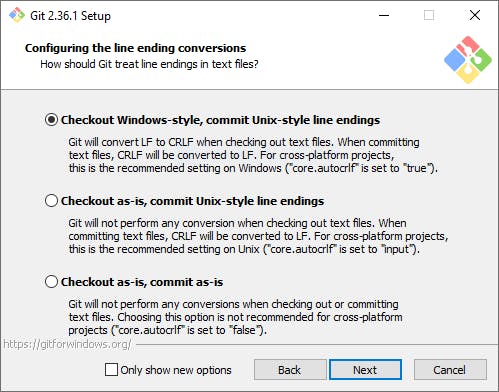
The next selection converts line endings. It is recommended that you leave the default selection. This relates to the way data is formatted and changing this option may cause problems. Click Next after this.
Choose the terminal emulator you want to use. The default MinTTY is recommended, for its features. Click Next after this.

The installer now asks what the
git pullcommand should do. The default option is recommended unless you specifically need to change its behaviour. Click Next after this
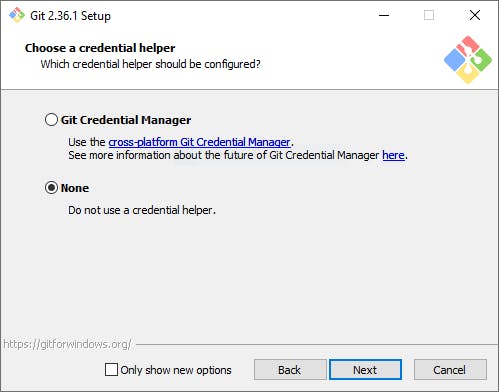
The next step allows you to choose which credential helper to use. Git uses credential helpers to fetch or save credentials. Leave the default option as it is the most stable one, and click Next.
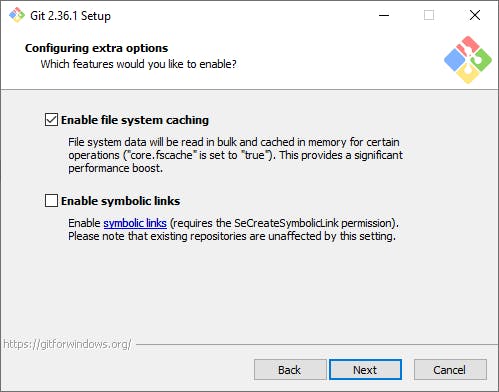
The default options are recommended, however, this step allows you to decide which extra option you would like to enable. Leave the default and click Next.
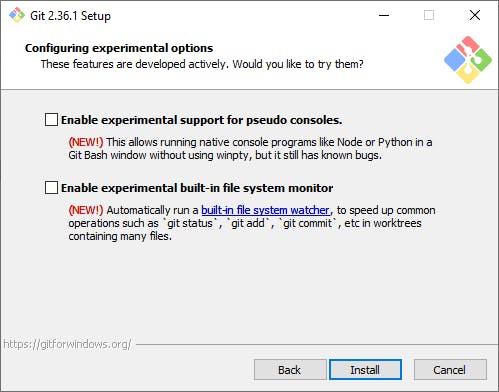
Depending on the version of Git you’re installing, it may offer to install experimental features. Unless you are feeling adventurous, leave them unchecked and click Install.
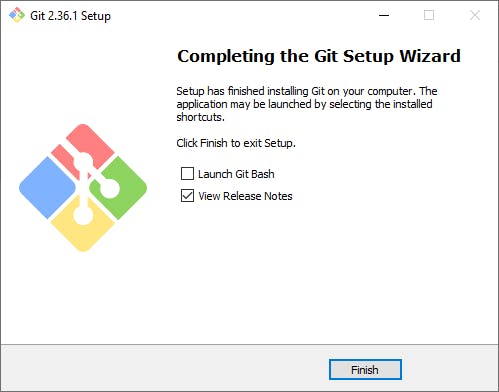
Once the installation is complete, tick the boxes to view the Release Notes or Launch Git Bash or skip both, then click Finish.
Conclusion
The list of tools developers use is countless and there’s every possibility that coming across articles that list all these tools can be overwhelming for newbies. What this article has done is narrow down the starting point for every new front-end developer trying to get their foot right in the space.
Having Chrome and VS Code installed is just enough for someone trying to have a front-end development environment quickly set up for learning. The addition of Node and Git can be a bonus from the start. As you grow in the space, you will get to add more tools that will increase your productivity. But for a start, these four tools are just enough.
Feel free to use the comment section to drop feedback and questions on this. Looking forward to seeing every newbie out there succeed in this space.